Graveyard Orbit Ship Building & Shipyard Guide
Balance power, mass, and firing arcs so every hardpoint earns its grid tile.
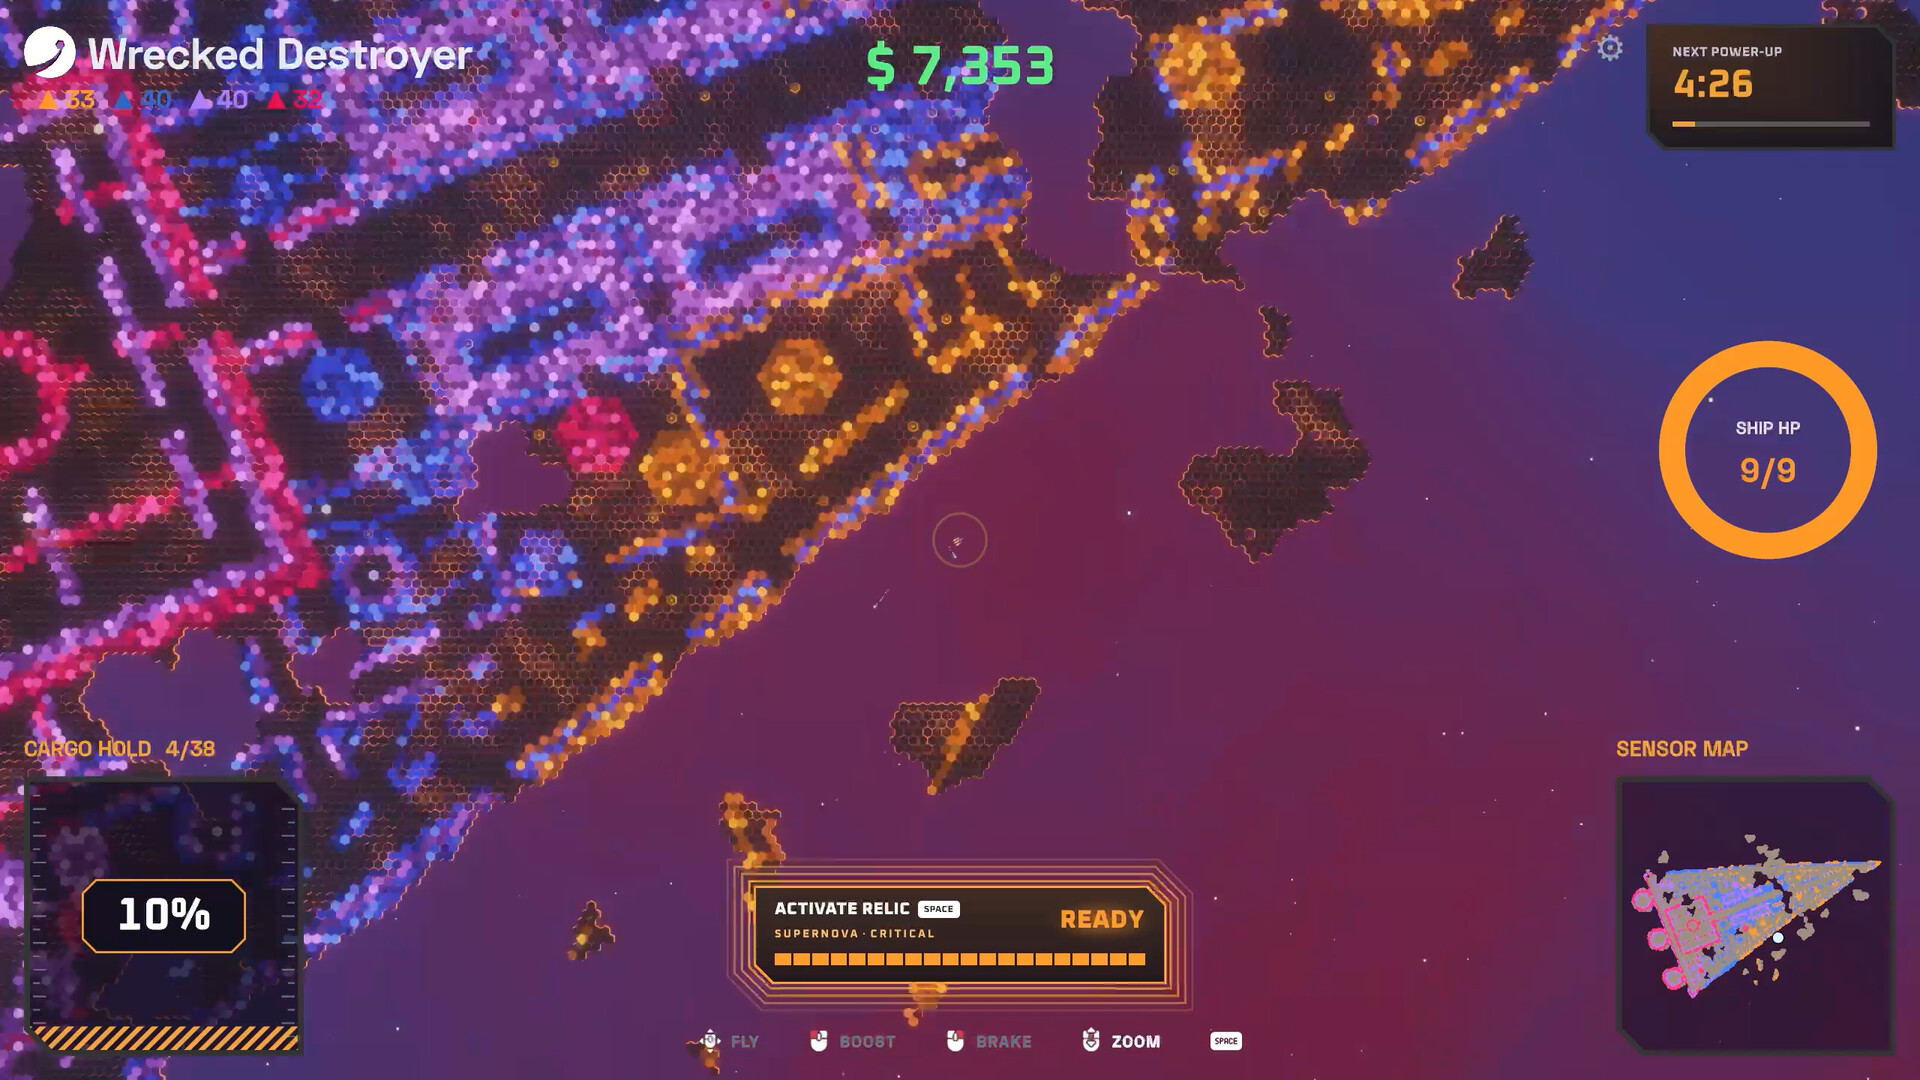
Ship building is the heart of Graveyard Orbit. The shipyard lets you turn Extractor cash into power plants, cargo holds, hull plates, conveyor belts, factory modules, and entire weapon departments. This guide explains how to plan a grid that clears wrecks efficiently instead of looking busy while half your guns stare into empty space. Pair it with Getting Started for the early loop and the Weapons Tier List Hub when you choose which trees to fund.
Design goals
A good mining ship does four jobs at once:
- See the structure — weapons placed for overlapping arcs and useful range.
- Feed those weapons — enough power and stable belts so damage does not stutter.
- Carry the haul — cargo sized for the contract so you are not ferrying half-empty holds.
- Survive hazards — hull and positioning that let you finish sealed cores without aborting.
Everything else is vanity. If a part fails those tests, sell the idea and rebuild.
Power, weight, hull, and cargo
Power is the silent gate. Stacking lasers or pulse arrays without generators creates brownouts mid-strip. Add power when you add simultaneous hardpoints, not after you notice flicker during a core breach.
Weight limits how aggressively you can armor and arm the frame. Overweight builds feel sluggish and punish repositioning around megastructure corners. Trim decorative plates before you cut the gun that covers your weak side.
Hull matters once hazards and defensive layers appear. Early wrecks forgive glass cannons; mid and late structures do not. Budget hull when you start taking chip damage on approach, not after a failed contract.
Cargo decides trip count. Large structures (tens of thousands of tiles and beyond) punish tiny holds even if your DPS is excellent. Expand cargo in step with mining speed so the Extractor stays fed.
Conveyors and factory belts
Belts are force multipliers for ore value and throughput. When your weapons delete tiles faster than you process haul, invest in conveyor and factory upgrades before another exotic hardpoint. A tuned belt line makes plain ore respectable and colored ore excellent — details live in the Extractor Guide. Think of belts as part of the ship even when they sit in the processing fantasy: they fund the next department unlock.
Departments unlock weapons
Departments gate the six weapon trees: Lasers, Cannons, Pulse, Drones, Contact, and Gravitron. Unlock the department that matches the ore colors and geometry you face most. Lasers often carry early gold-heavy wrecks; drones and gravitron tools shine when structures sprawl and you need coverage or control. Contact parts want close passes; cannons and pulse fill mid-range roles. Do not unlock every tree at once — fund one or two deeply, then branch.
Research mods later rewrite how those weapons behave. When a mod changes fire pattern or economy, revisit placement instead of assuming the old arc map still works. See Relics and Mods for that layer.
Placement and arcs
The grid is a puzzle. Edge mounts cover wide sweeps; recessed mounts waste range on your own hull. Stagger weapons so overlapping cones erase a face instead of leaving stubborn pillars. For tall or hollow megastructures, mix long-range and short-range pieces so you are not glued to one distance.
When you redesign:
- Clear a test face on a small wreck after major rebuilds.
- Watch which hardpoints never fire — those tiles are candidates for cargo, power, or a different mount.
- Keep a mobile side clear for strafing if contact or short-range tools are in the kit.
- Mirror only when both sides actually see the structure; false symmetry is a common late-demo trap.
Mid-game rebuild cadence
Expect to tear the ship apart several times. After each department unlock, schedule a rebuild evening: strip obsolete mounts, rebalance power, and redraw arcs. After your first sealed-core failure, add hull and a safer approach angle. After Overtime unlocks, build a specialist loadout for one-shot contracts rather than forcing the campaign ship into every star attempt — more on that in Overtime Mode.
Sample progression spine
- Tutorial laser trunk and basic cargo.
- Power + belt so early gold ore pays properly.
- Expand arcs with a second laser or a complementary cannon/pulse mount.
- Unlock a second department based on ore colors you keep leaving behind.
- Add drones or gravitron tools when structures exceed what a static wall can see.
- Specialize relics and mods once the chassis is stable.
Common mistakes
- Building a “laser wall” that only covers one hemisphere.
- Ignoring belts until cash feels inexplicably slow.
- Buying relics before power and cargo are healthy.
- Mixing six half-upgraded trees instead of two strong ones.
- Forgetting hull until a hazard deletes a run.
Cross-links
Return to Getting Started if the overall loop is still fuzzy. Compare tree strength on the Weapons Tier List Hub. Confirm bindings on Controls before long rebuild sessions. Official store and community links sit on Official Links.
A great Graveyard Orbit ship is boring in the best way: every tile earns its keep, every gun sees the wreck, and every haul funds the next deliberate upgrade.
Frequently Asked Questions
Quick answers to common Graveyard Orbit questions.
What should I upgrade first on my ship?
Fix the bottleneck from your last run—usually power, cargo, or belts—before unlocking every weapon department.
Why do some weapons never fire?
Placement and arcs matter. Mounts blocked by your own hull or aimed away from the wreck waste grid space; rebuild for overlapping coverage.
How do departments work?
Departments unlock weapon trees such as Lasers, Cannons, Pulse, Drones, Contact, and Gravitron so you can buy and place those parts.
When should I rebuild the whole ship?
After major department unlocks, after sealed-core failures, and before serious Overtime star attempts with a specialist layout.
Do conveyor belts belong in a ship build guide?
Yes. Belts and factory lines multiply Extractor value and often outperform another half-powered gun when mining outpaces processing.