Graveyard Orbit Weapons Tier List Hub
S–B rankings for all six weapon trees across early wrecks, mid layers, and late megastructures.
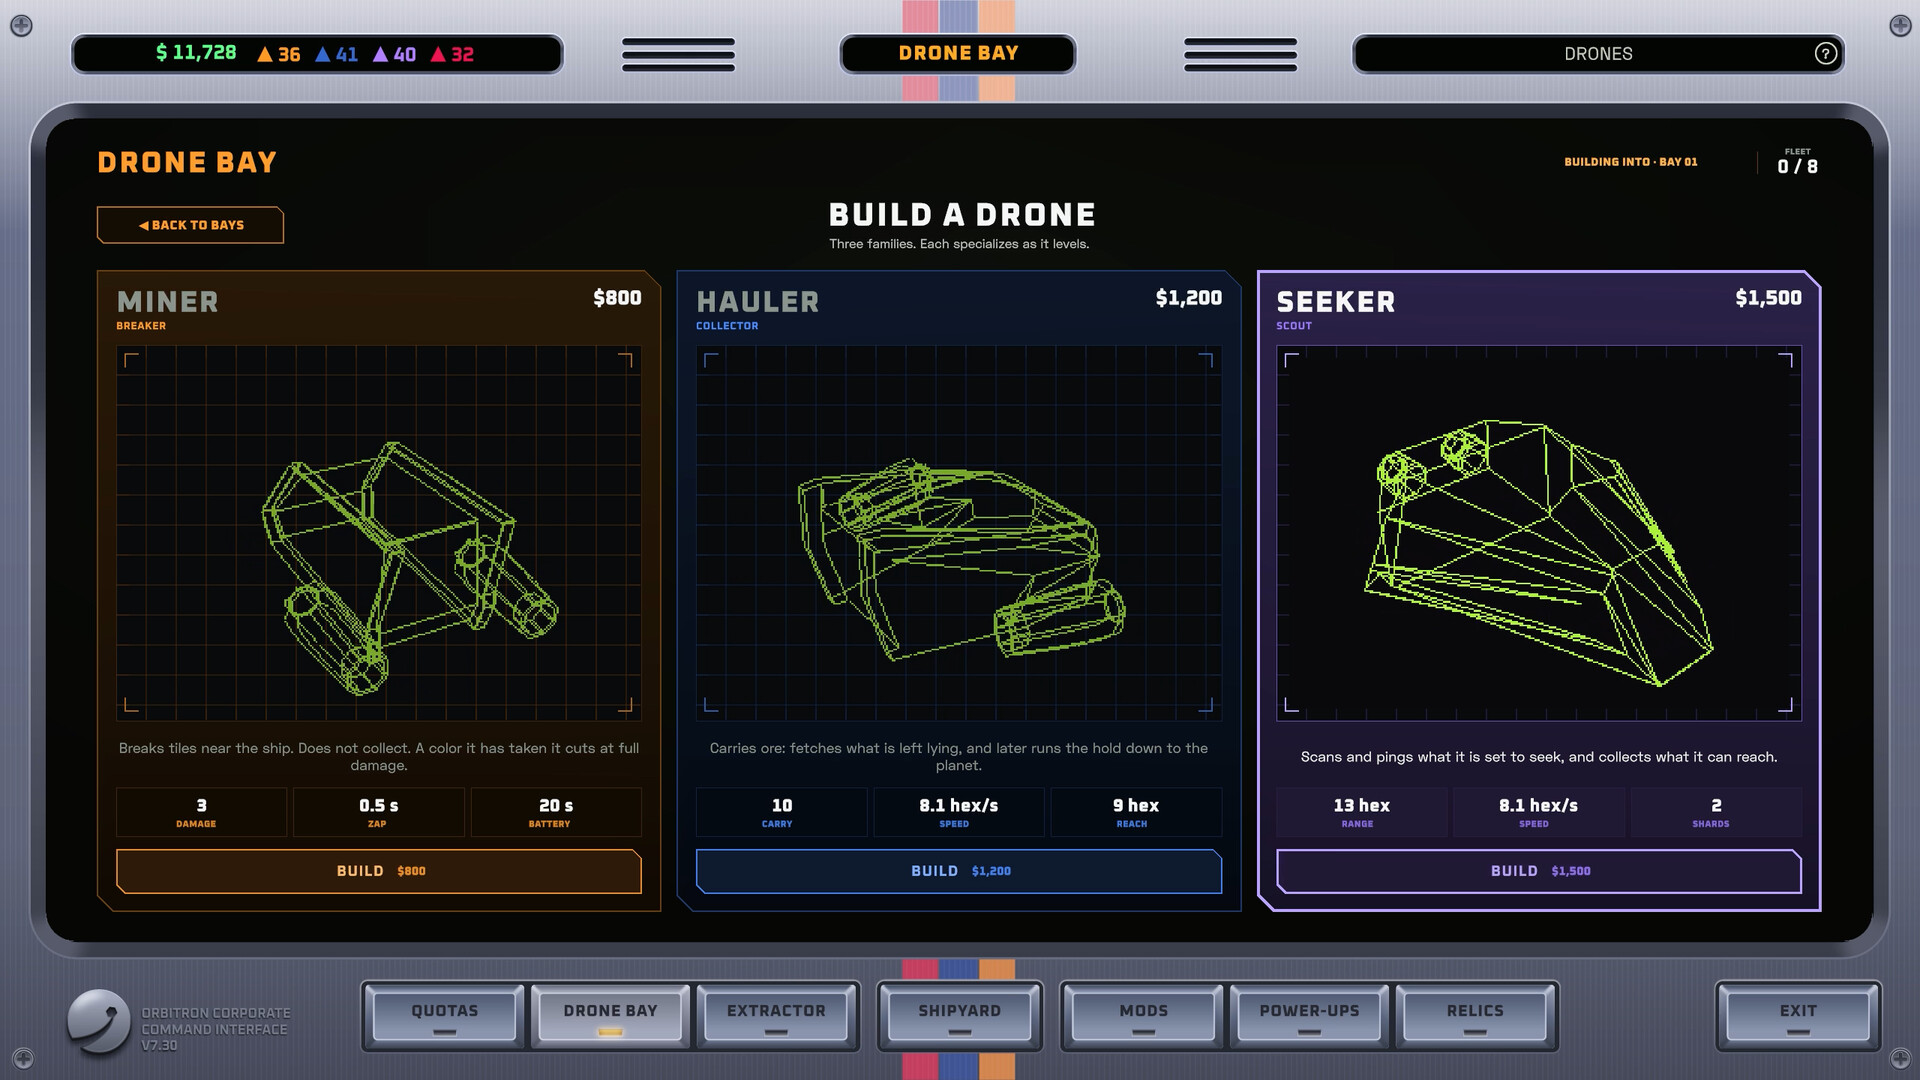
This Weapons Tier List Hub ranks the six Graveyard Orbit weapon trees — Lasers, Cannons, Pulse, Drones, Contact, and Gravitron — for early, mid, and late progression. Rankings assume single-player Steam balance at launch (November 2026), focus on clearing wrecks and layered megastructures efficiently, and treat placement, power, and ore matching as part of strength. Use Ship Building to turn a high tier into actual arcs, and Relics and Mods when research rewrites a tree’s job.
Ranking criteria
- Clear speed on plain and colored ore when matched correctly.
- Arc friendliness — how easily mounts cover a structure face.
- Power efficiency relative to damage delivered.
- Scaling into 5,000–250,000 tile fantasies with sealed cores and hazards.
- Synergy with belts/Extractor value rather than raw spectacle.
S = fund first. A = strong situational or pairing pick. B = workable but narrower. We do not use F tiers here — every tree can clear content with good placement.
Early game tier list (first wrecks & departments)
| Tier | Trees | Why |
|---|---|---|
| S | Lasers | Fast unlock fantasy, excellent gold-ore pairing, simple arcs for new grids |
| A | Cannons, Pulse | Solid mid-range deletion once power exists |
| B | Drones, Contact, Gravitron | Unlock later or need tighter positioning/power plans |
Early notes: Put starter lasers where they see the wreck, buy power before a second full wall, and cash through the Extractor before spreading into every department. Colored ore teaches matching early — leave unmatched colors only when cargo is already full of plain ore. Read Getting Started if you are still learning trip cadence.
Mid game tier list (layered shells & second departments)
| Tier | Trees | Why |
|---|---|---|
| S | Lasers, Pulse | Reliable faces plus chamber clearing as interiors open |
| A | Cannons, Drones | Cannons punch stubborn bands; drones cover sprawl while you reposition |
| B | Contact, Gravitron | Strong in niches — hugging hulls or control — but punish bad approaches |
Mid notes: Rebuild after the second department unlock. Hybrid laser + pulse or laser + drone covers most campaign mid structures. Contact shines on soft exterior bands if hull can take the risk. Gravitron starts justifying research when geometry blocks static walls. Keep belts ahead of DPS so ore value stays high (Extractor Guide).
Late game tier list (huge megastructures & Overtime)
| Tier | Trees | Why |
|---|---|---|
| S | Drones, Lasers | Autonomous coverage plus proven economy for marathon clears |
| A | Gravitron, Pulse, Cannons | Control tools and burst delete for cores and awkward interiors |
| B | Contact | Still deadly in short windows, but hazard density makes full-contact mains riskier |
Late notes: Quarter-million-tile fantasies punish single-hemisphere laser walls. Drones elevate when you cannot micro every face. Gravitron moves from luxury to problem-solver on sealed cores and hazard gates. Contact remains a specialist: excellent with the right relic, punishing without hull. Overtime star runs prefer coherent two-tree cores over six shallow mounts — see Overtime Mode.
Tree-by-tree summary
Lasers — S early / S–A forever
Bread-and-butter beams. Match gold-leaning ore, stack power, and keep mounts unobstructed. Mods that improve uptime keep lasers relevant into Overtime even when drones take coverage duties.
Cannons — A mid / A late
Punch and mid-range authority. Great when pulse or lasers leave thick bands. Watch ammo-like cadence and power; place for lanes down structure corridors.
Pulse — A early-mid / A late
Area deletion for open faces and chambers. Pairs well with lasers. Avoid over-stacking without generators.
Drones — B early / S late
Scale with structure size. Early drones feel optional; late drones save minutes on exteriors you cannot park beside. Fund when cargo trips already work and you need coverage.
Contact — B overall, A in niche builds
High reward next to hull. Requires approach discipline and enough armor. Relics that favor close work can promote Contact into a star-run partner.
Gravitron — B early / A late
Control and geometry tools. Weak if you only chase raw DPS numbers; strong when they open safer angles for the rest of the grid on sealed cores.
Ore matching reminder
Colored ore wants matching weapons (examples include gold with lasers and blue with dynamo-oriented tools). Plain ore breaks with anything. Tier placement assumes you bother to match when practical — a “S” tree used on the wrong color still underperforms a matched “A” tree.
How to apply the list
- Pick the S-tier tree for your current phase.
- Add one A-tier partner for coverage gaps.
- Unlock mods for those two trees before dabbling elsewhere.
- Rebuild arcs after each major research spike.
- Recheck this hub after patches on the Updates Hub.
Official store context and community discussion live under Official Links. Controls for long ranking tests sit on Controls.
Tiers are planning tools, not religion. A well-placed B-tier Contact pass can beat a mis-aimed S-tier laser wall — but when both are placed well, fund the S and A picks first.
Frequently Asked Questions
Quick answers to common Graveyard Orbit questions.
How many weapon trees are in Graveyard Orbit?
Six: Lasers, Cannons, Pulse, Drones, Contact, and Gravitron, unlocked through shipyard departments.
What is the best early weapon?
Lasers are the safest early S-tier pick thanks to simple arcs and strong colored-ore pairing, provided you fund power.
When do drones become worth it?
They climb toward S-tier in late and Overtime play when structures are too large for a static gun wall to cover alone.
Does placement affect tier strength?
Yes. Every tree drops a full letter grade if mounts cannot see the wreck. Rebuild arcs after unlocks and mods.
Will this tier list change after patches?
Yes. Recheck the Updates Hub after balance patches and adjust research priorities accordingly.